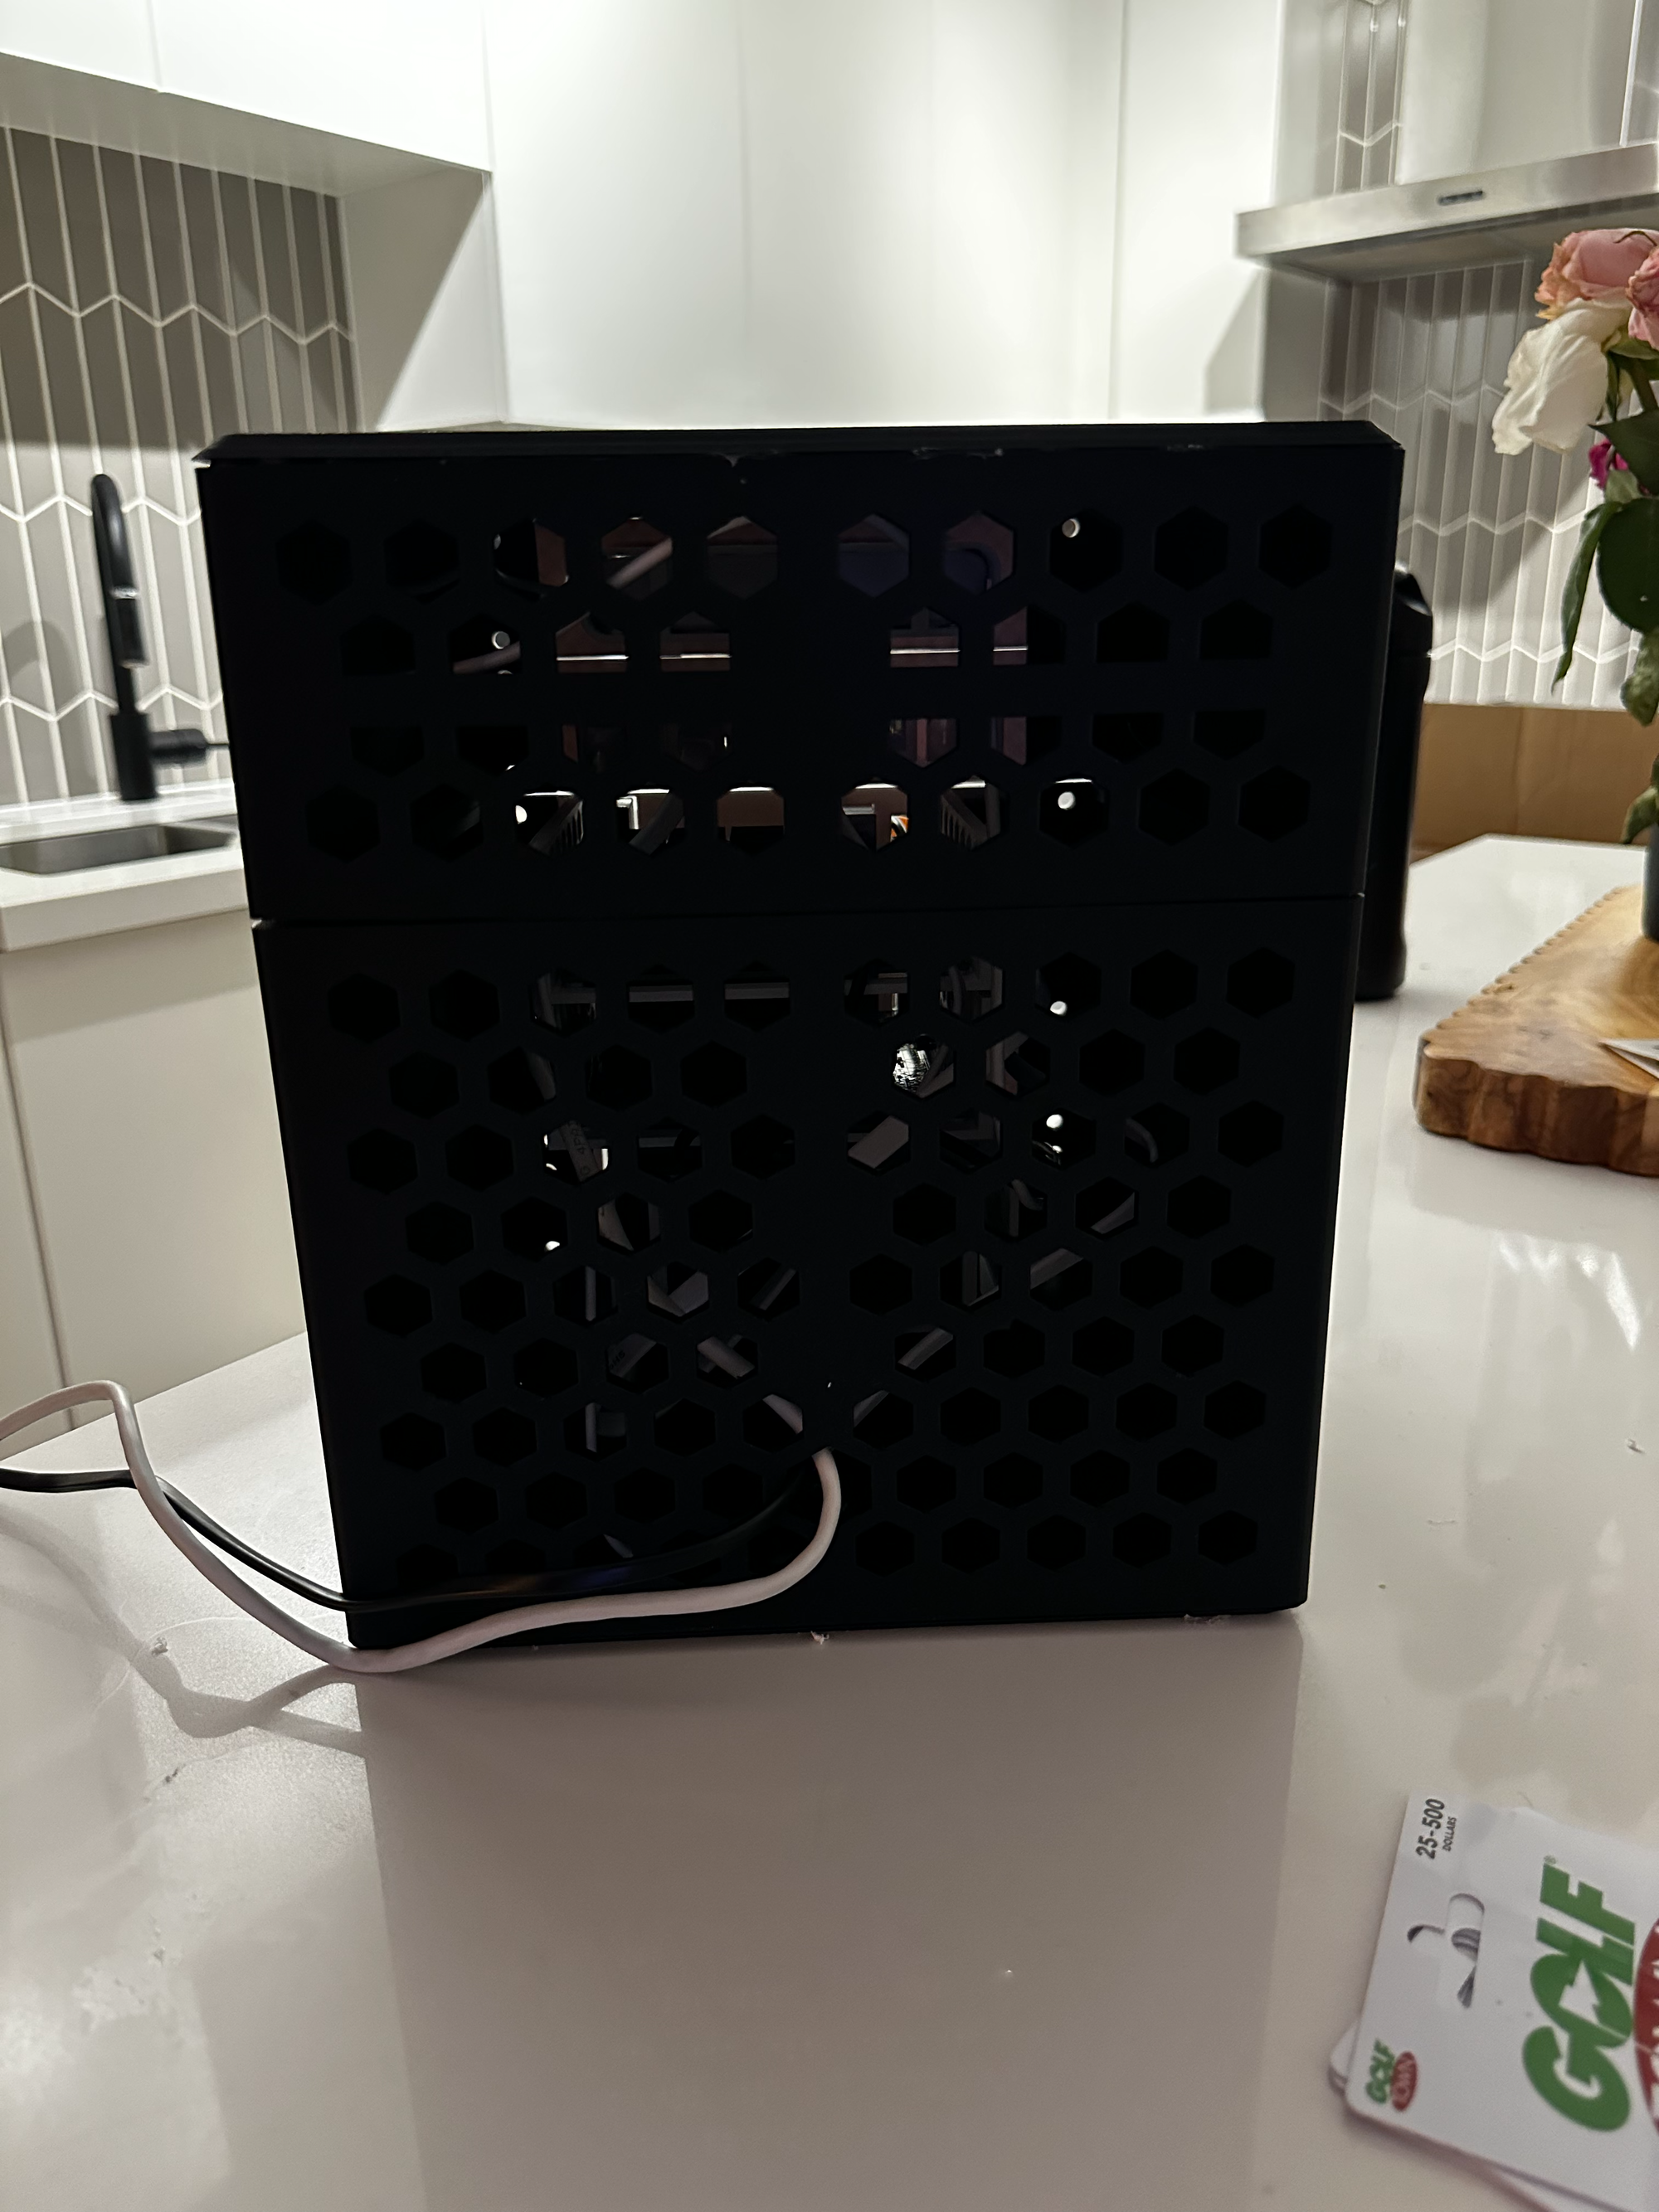
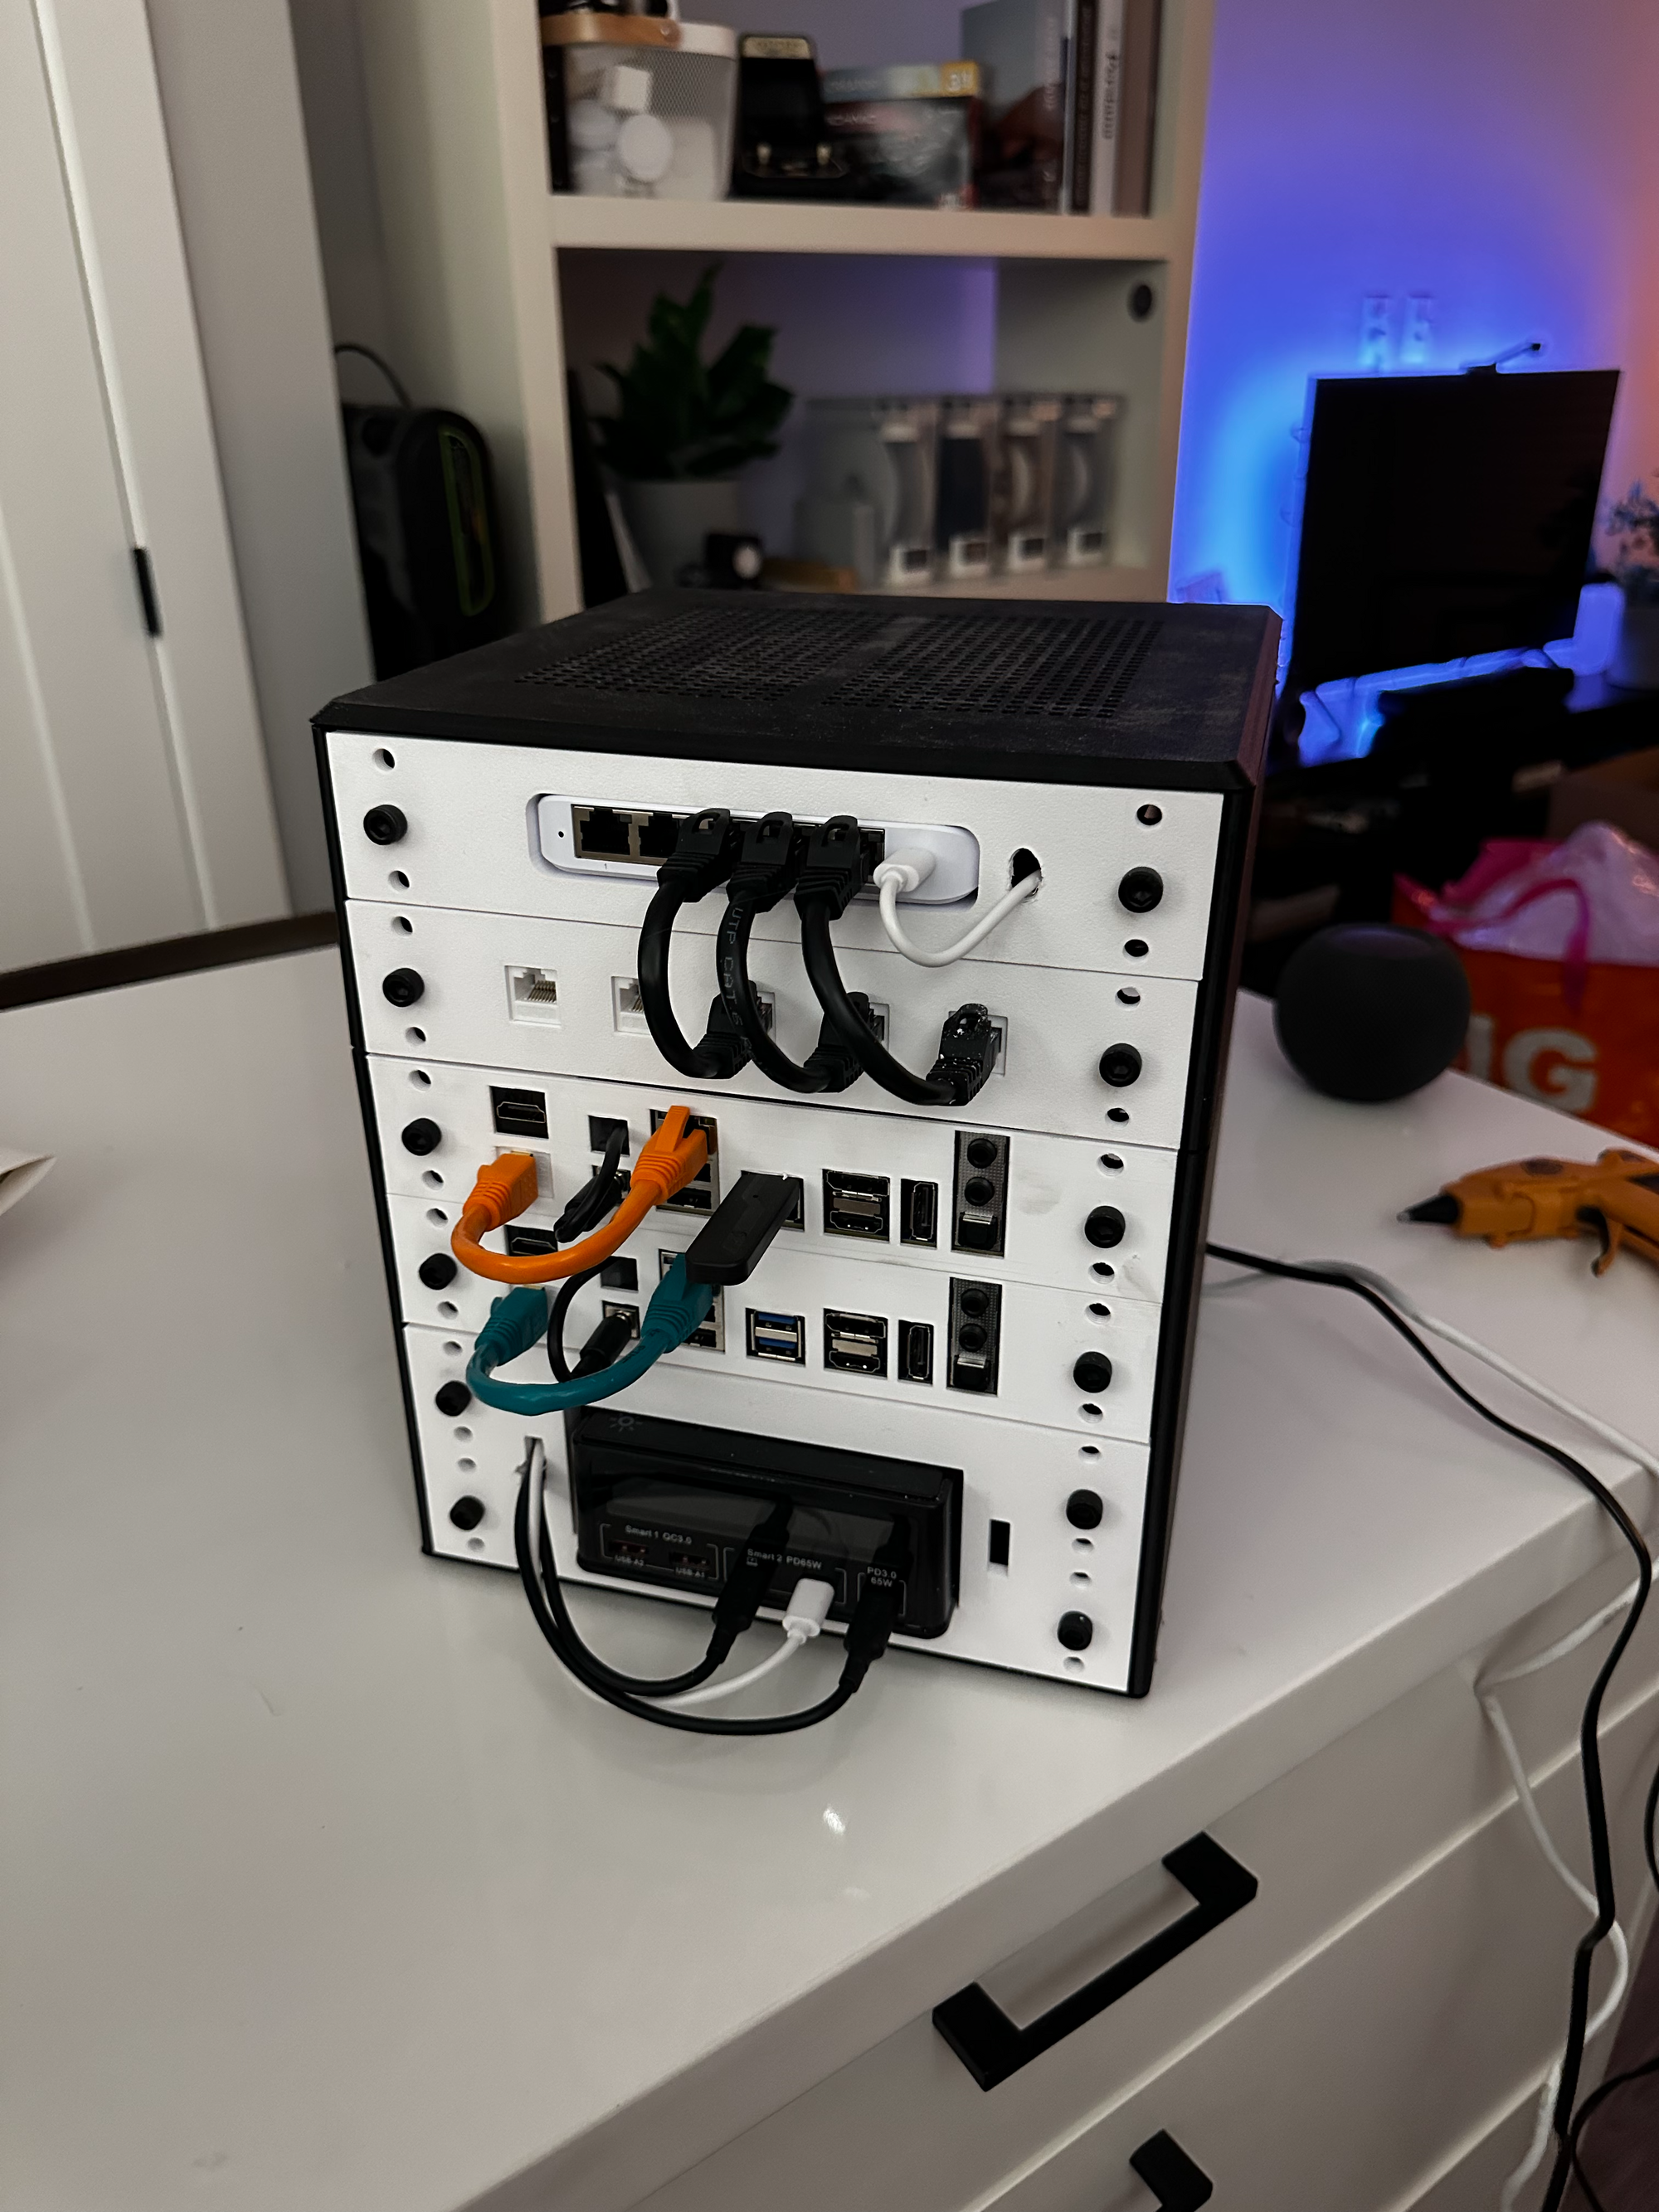
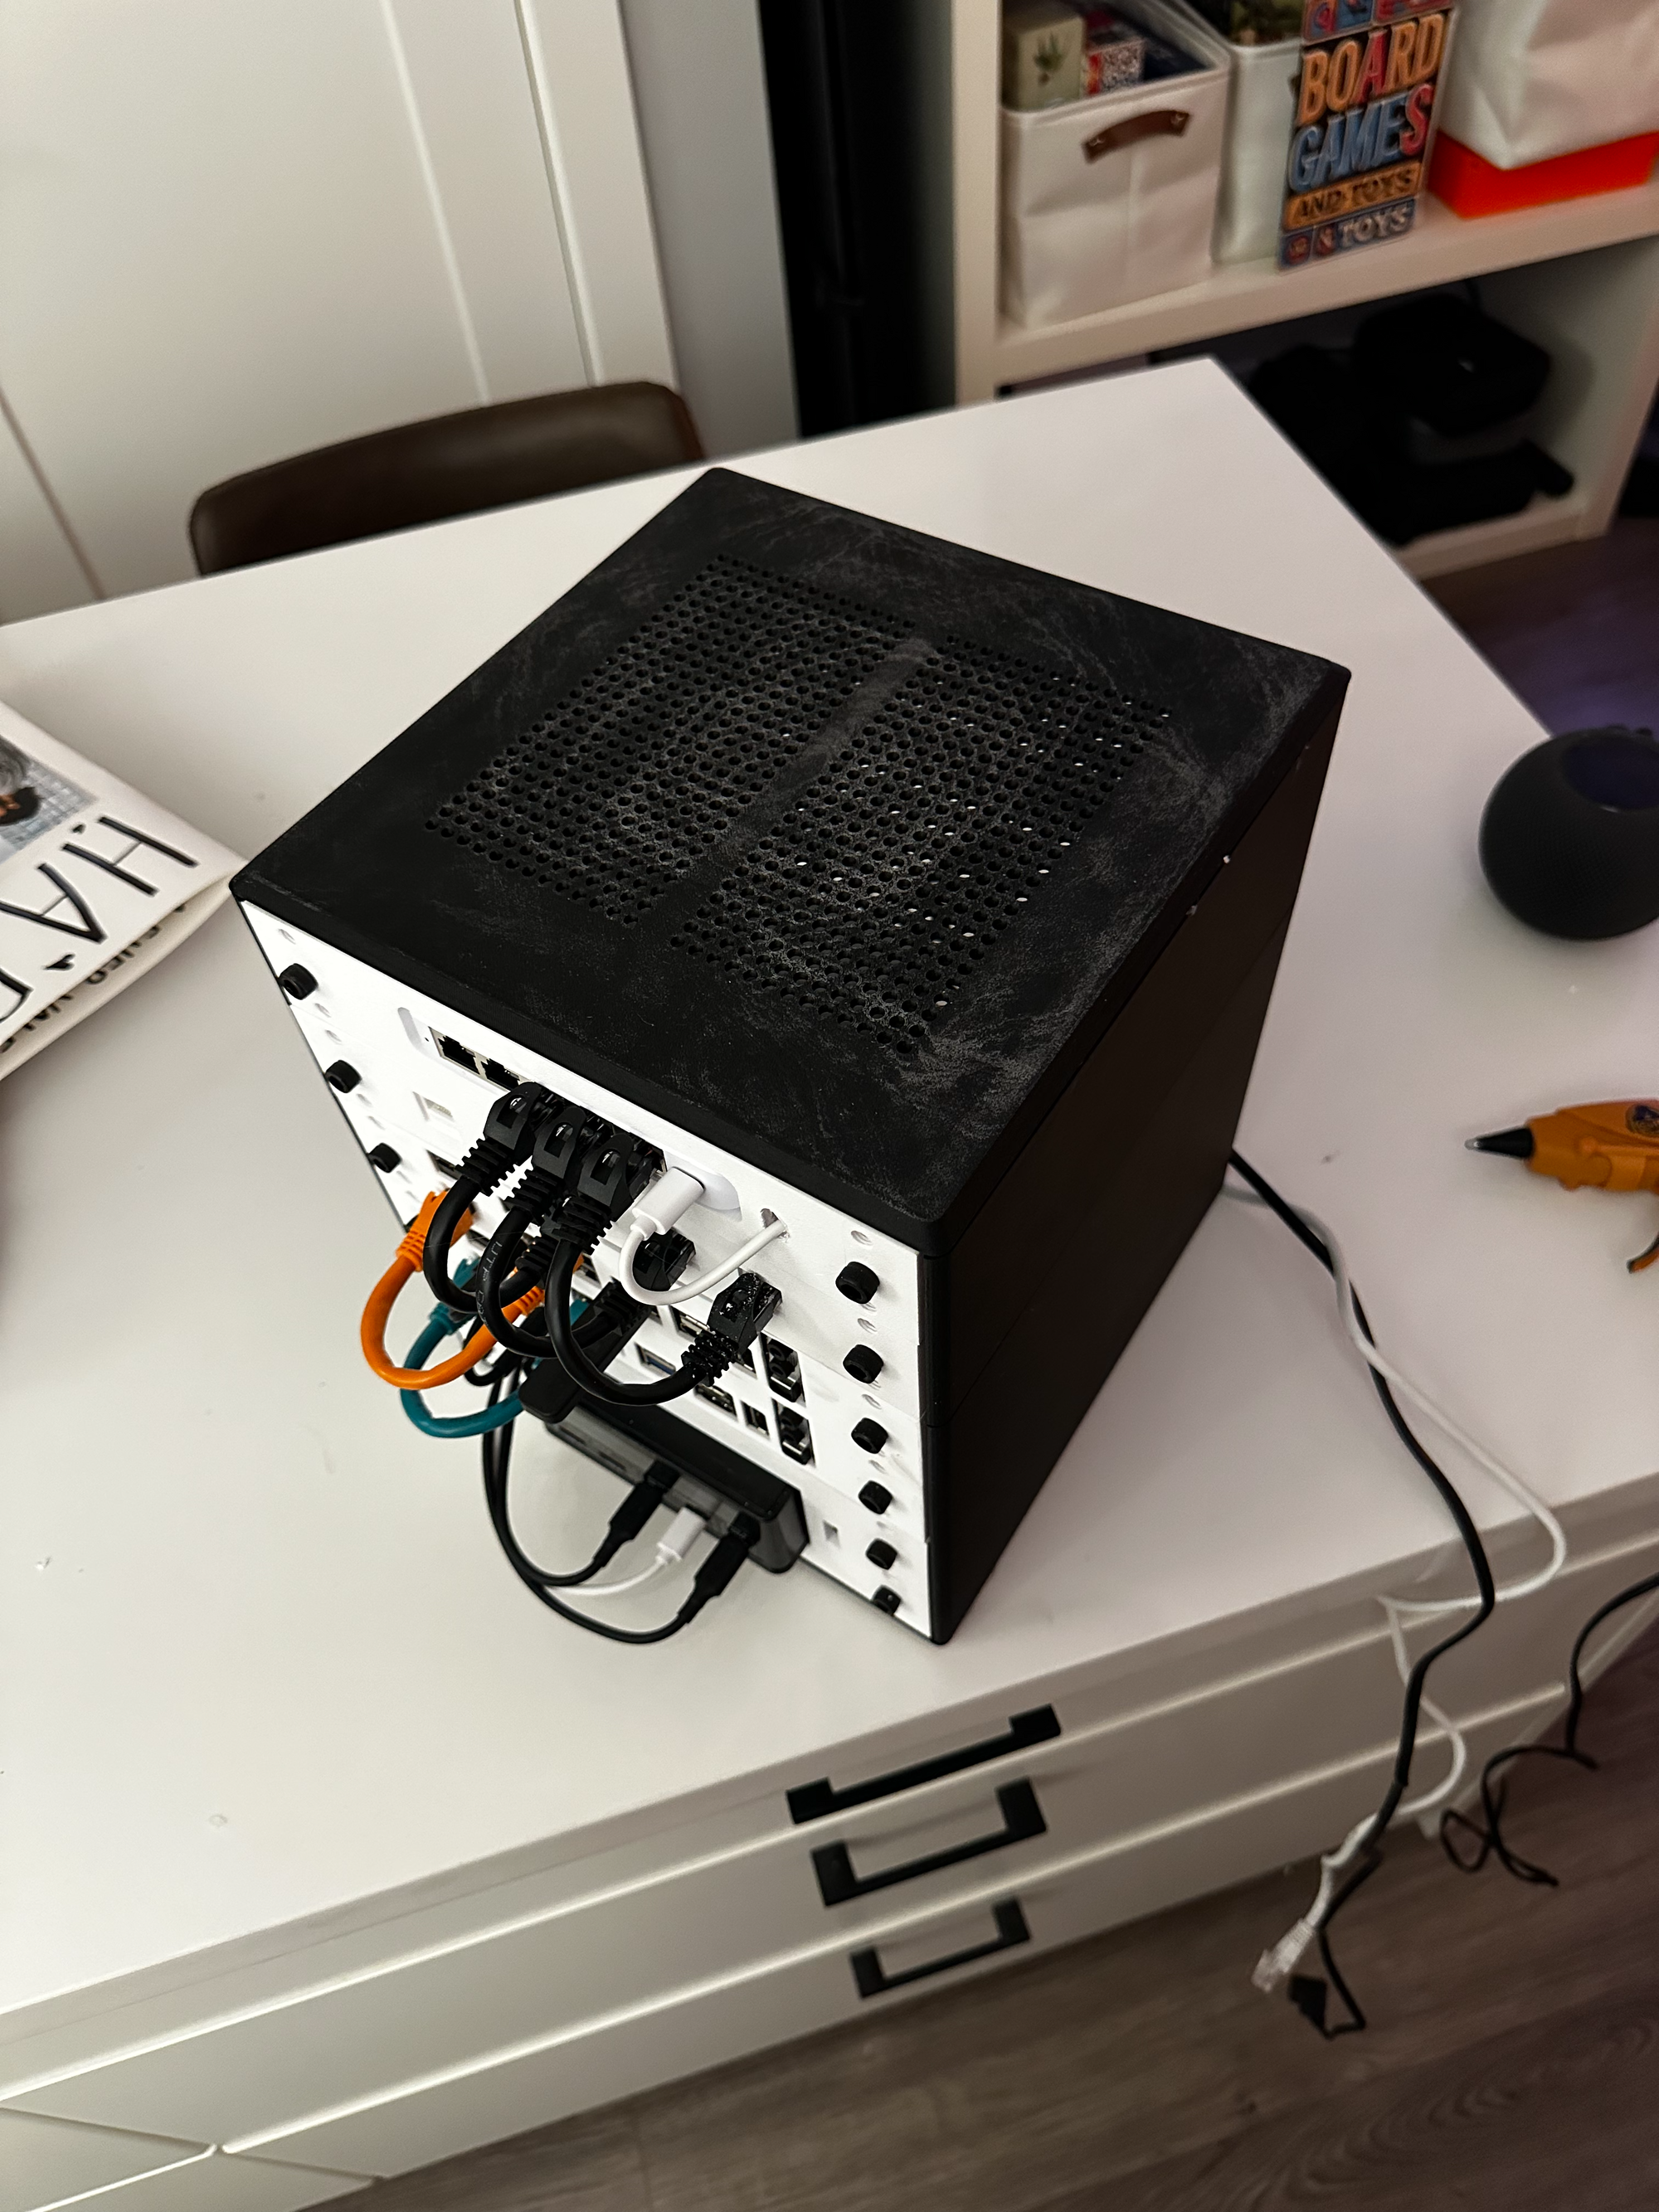
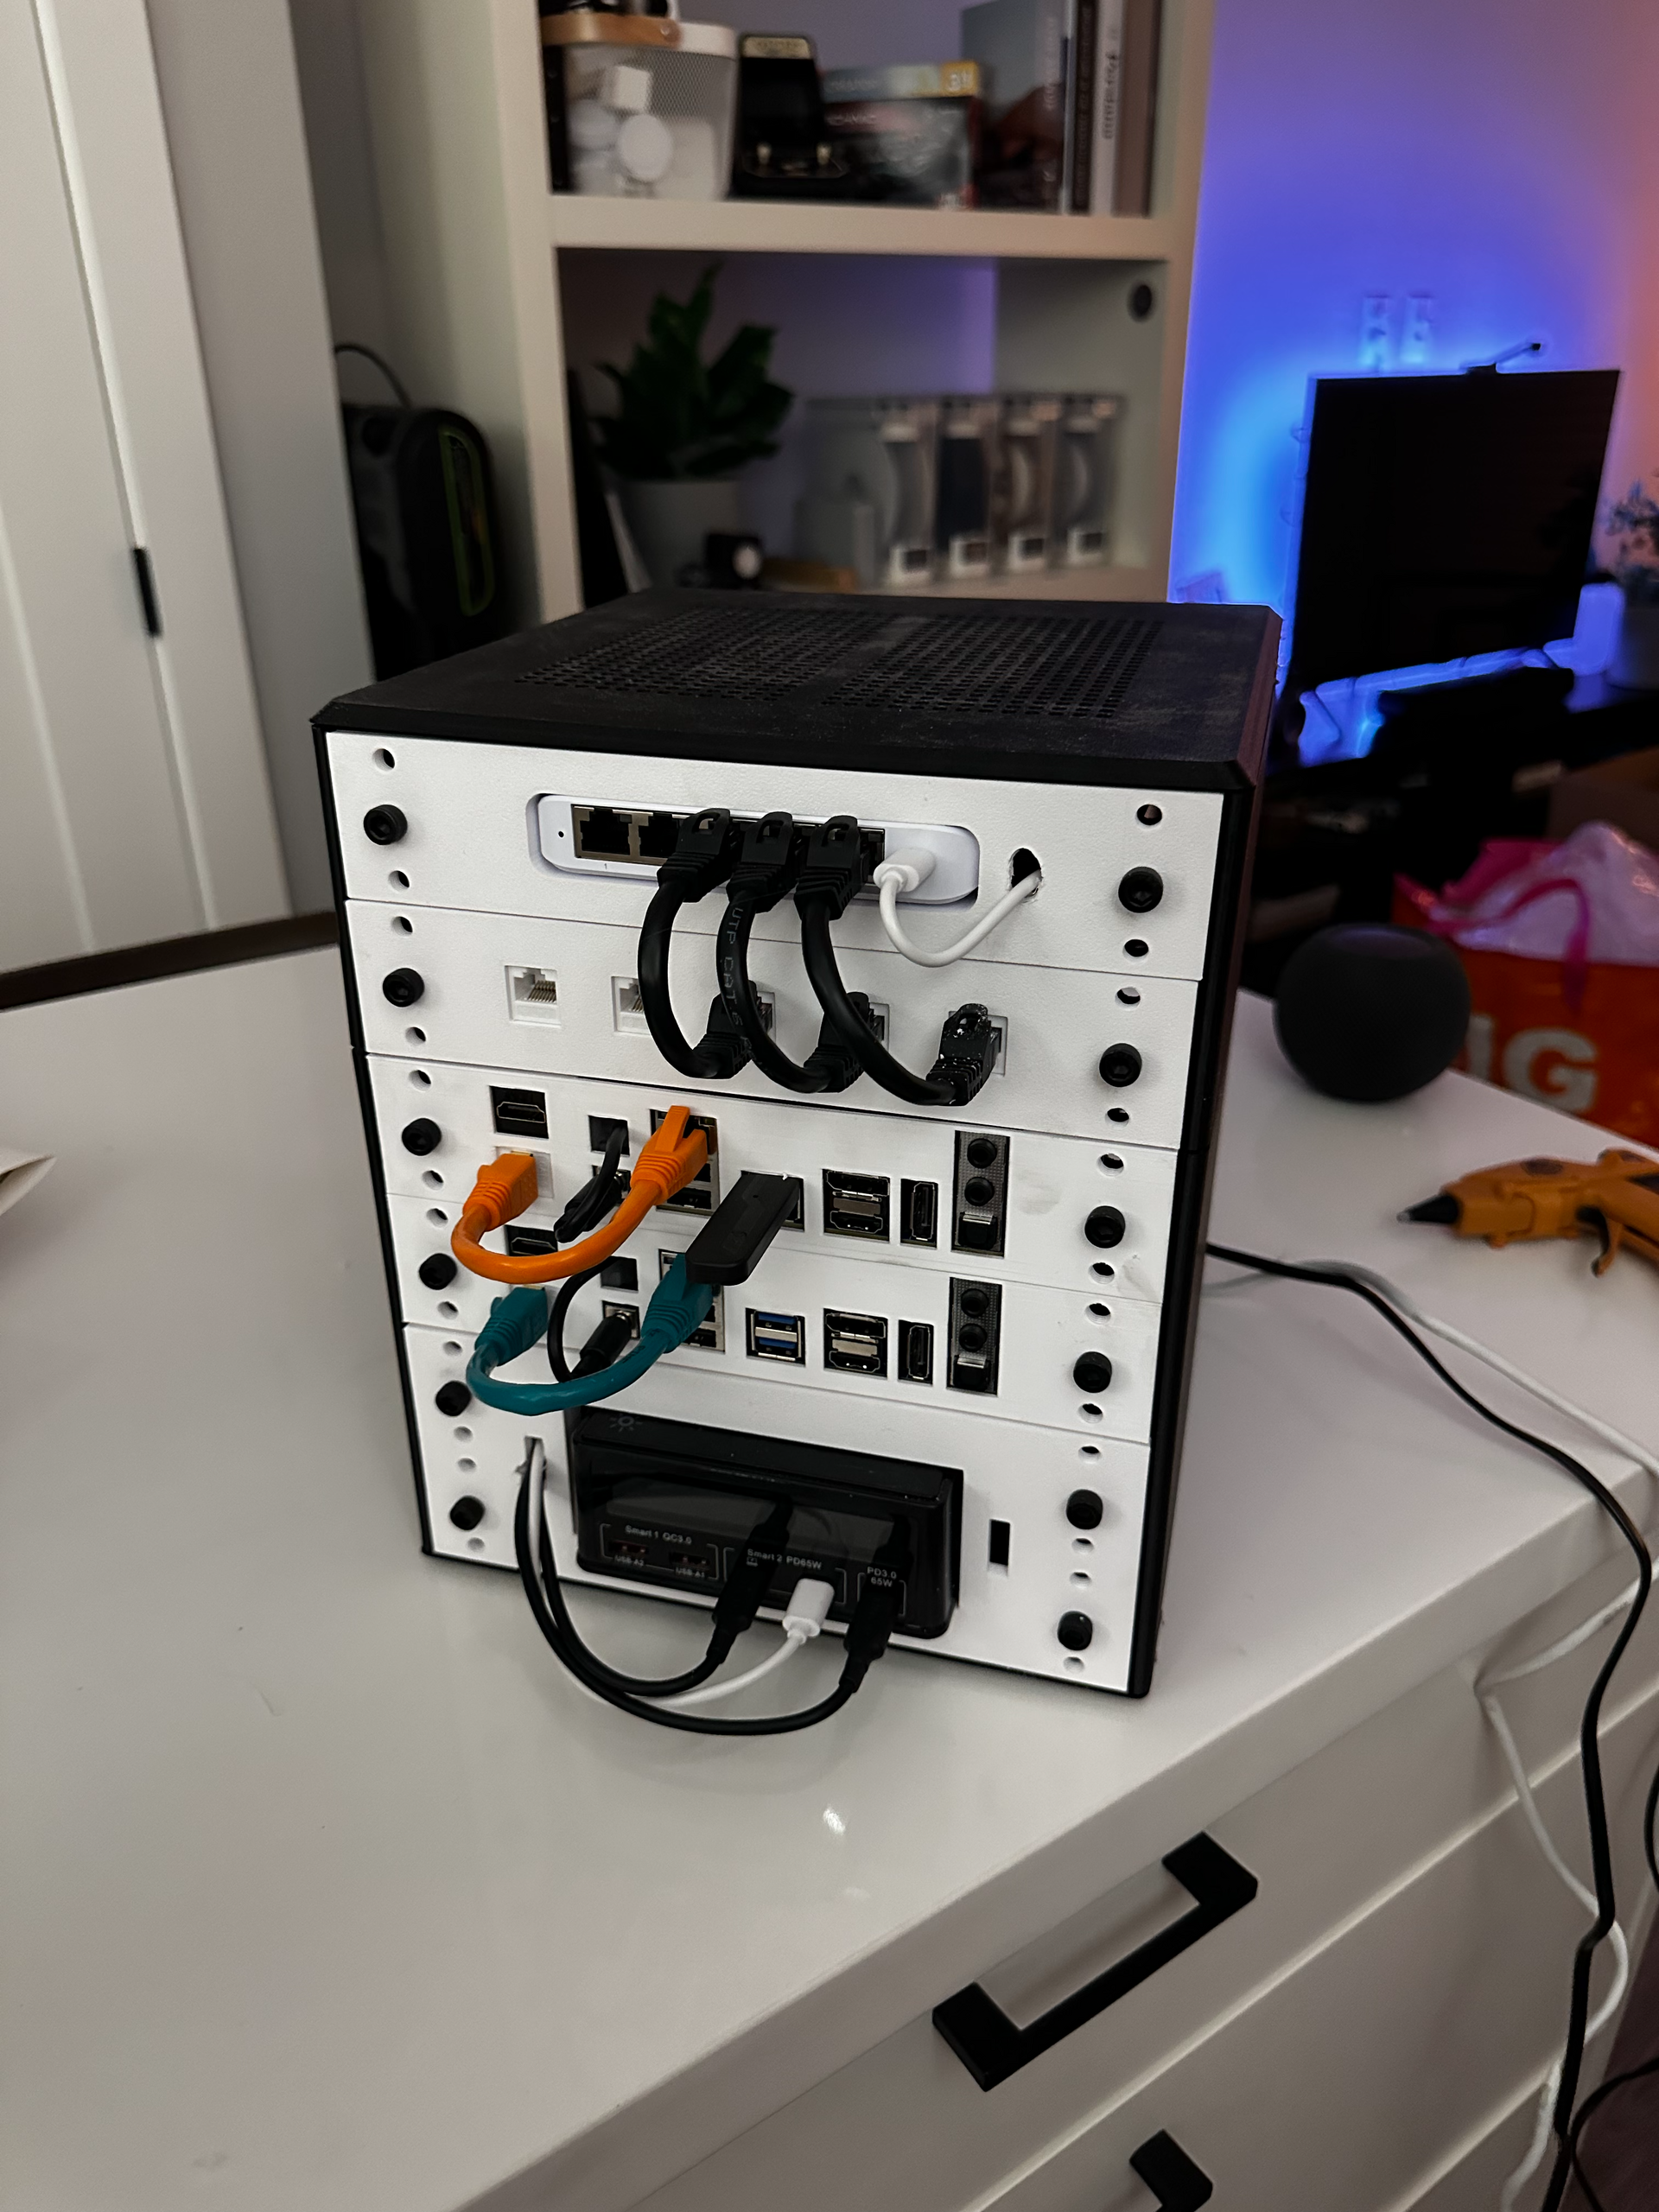
Over the past few years, my home lab has grown from a simple setup into a more structured environment for testing, hosting services, and tinkering with new hardware. As I added more components, I realized I needed a compact, modular rack to keep everything organized, accessible, and well-cooled—so I designed my own!
This 9-inch server rack was 3D-printed in PETG-CF for strength and durability, while the component mounts were printed in PETG-HF for flexibility and heat resistance. It’s fully modular, easy to expand, and keeps all my networking and compute components neatly stacked.
🛠 Components in My Setup
This rack is designed to house small but powerful hardware, making it perfect for a compact home lab or edge computing setup. Here's what I have installed:
🔹 1U - UniFi USW Flex XG (5-Port 2.5G Switch)
- UniFi USW-Flex-XG
- Provides 2.5Gbps networking to all devices.
- Compact form factor fits neatly in the 9-inch rack.
🔹 1U - Custom Keystone Panel for Ethernet
- A DIY 1U slot with Ethernet keystones to cleanly route cables.
- Allows for a modular and flexible networking setup.
🔹 1U - ODROID-H4 Compute Node
- ODROID-H4
- A powerful low-power ARM-based server running in my home lab.
- Handles various lightweight workloads and self-hosted services.
🔹 1U - ODROID-H4 with NVMe NAS Expansion
- ODROID-H4 + M.2 4x1 Card
- Acts as a mini NAS, handling high-speed storage with multiple NVMe drives.
- Efficient, small, and great for fast local storage.
🔹 2U - 12V 10A Power Supply
- 12V 10A Power Supply
- Provides stable power to all components without excessive cabling.
🖨️ 3D Printing & Assembly
🏗️ Materials & Print Settings
- Rack Frame: PETG-CF (Carbon Fiber Reinforced PETG) for rigidity and strength.
- Component Mounts: PETG-HF (High Flow) for flexibility and heat resistance.
- Layer Height: 0.2mm for a balance of strength and detail.
- Infill: 30-40% for stability without excessive weight.
- Supports: Minimal, only for screw holes if needed.
🔩 Assembly Instructions
- Print all parts and clean up any rough edges or supports.
- Secure the rack frame together using M4 bolts through the mounting holes.
- Install the networking and compute devices, ensuring proper cable management.
- Route power and Ethernet cables through the keystone panel for a clean and organized setup.
🚀 Final Thoughts
This 9-inch modular rack is a game changer for home lab setups—it keeps everything compact, stackable, and well-organized while maintaining airflow. The modular nature of this design means I can easily swap out components, upgrade devices, or expand as needed.
If you're looking for a way to tidy up your home lab without a full-size server rack, this design might be perfect for you. I’ve uploaded the STL files to Printables, so feel free to check them out and build your own!
Let me know if you have any suggestions or improvements! 🚀
📷 Images


